"Set up a simple still-life shot, fix the light at right angles to the camera, about two to three feet from the subject and at the same level. With the camera on a tripod, take the first photograph without a diffuser in front of the lamp and the second with the diffuser. Follow these with a series of five exposures, the light and camera must remain unchanged. Take a white card and place it three feet from the still-life on the opposite side to the light and facing it, take a photograph, move the card closer to the subject, approx halfway, take another photograph. Repeat this procedure with the following, a sheet of aluminium foil, dull side towards the light, next the foil shiny side towards the light, finally crumple the foil, then smooth it out again and with the shiny side out take two more photographs. Compare the results and arrange them in order of contrast, from the one with the biggest difference between the lit and shaded parts, to the least."
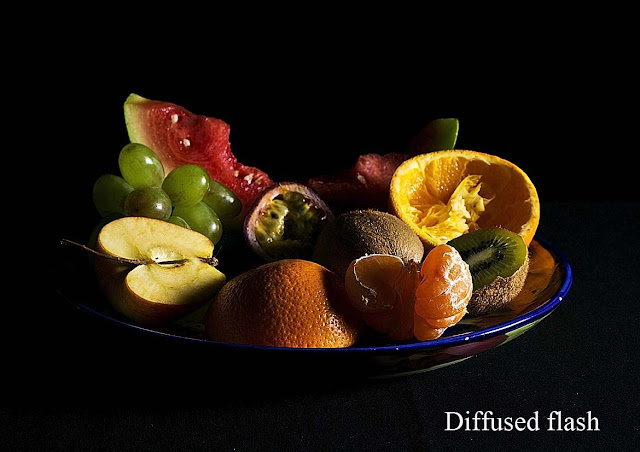
My first subject was the ornament above, it has good texture and lots of detail but I felt it was too thin, because of this the difference between the light and shadow areas would be difficult to see. The plate of partially eaten fruit was my preferred choice for the exercise it has lots of shape, form, texture and colour, the requirements for the assignment to follow. I used the same set-up of a flash gun with my home made diffuser for lighting.
Following the guidance in the coursebook, I have arrange the images in order, starting with the picture with the greatest contrast and finishing with the least. I'm not sure if its the fault of my arrangement or the lighting set-up, but apart from a couple of the images most seem to be evenly lit. The top of the apple, which was nearest the reflector shows the most variation in reflected light. This has been a very satisfying exercise to do, I will from now on make use of a diffuser, in most lighting situations.


No comments:
Post a Comment