 |
| Spot the triangle!!! |
Produce two sets of triangular compositions in photographs, one using 'real' triangles, the other making 'implied' triangles.
Real:
- Find a subject which is itself triangular (a detail of something larger will do).
- Make a triangle by perspective, converging towards the top of the frame.
- Make an inverted triangle, also by perspective, converging towards the bottom of the frame.
Taken at Birkenhead, this steelwork forms part of the lifting bridge that carries Duke Street across the entrance to one of the docks. Once I started looking, there were triangles all over this structure. It would have been better had I used a slower shutter speed, some movement in the car might have given the image a bit more impact.
This was taken with my 70-200mm lens, looking down Atherton Street towards the promenade at New Brighton. I realise now that I should have used a wide angle lens, using a telephoto has compressed the scene, so completely changing the perspective. Lines have been added to the image below, I hope they show what I was trying to convey with the photograph.
Until I started doing these exercises, I'd no idea how many shapes could be seen in everyday situations, like this one of dog walkers on New Brighton beach. It was not a very good day, weather wise, but when taking this photograph I knew it had worked. Just at the moment the shutter was pressed, the dog walkers moved into position, almost like formation dancers in a ballroom competition. In actual fact only two of the groups are moving, the people on the right are stationary, they appear independent of each other, but at the same time there is a connection. They are all talking, they are all in a line and will probably all go the same way down the beach. Again I have included a picture with a diagram showing the relevant shape.
Implied:
- Make a still-life arrangement of five or six objects to produce a triangle with the apex at the top.
- Make a still-life arrangement as above, but so that the triangle is inverted, with the apex at the bottom.
- Arrange three people in a group picture in such a way that either their faces or the lines of their bodies make a triangle.
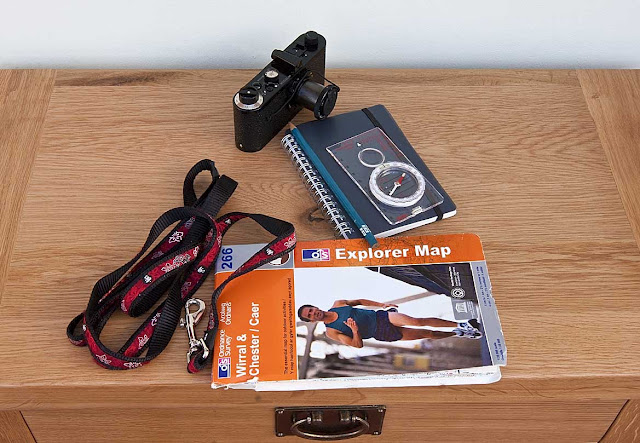
For the still life I chose a few of the things that I take with me on my trips to get images for the course, therefore keeping to my theme, the Wirral. The camera is obviously not the one used every day, but one that I am fortunate to own. It is a fully working replica of Oskar Barnack's O-series camera, it was re-produced by Leica in 2004. The triangular shape to the set-up can easily be seen, however a diagram is included alongside each photograph.
I then rearranged the components of my still life, so the apex was at the bottom.
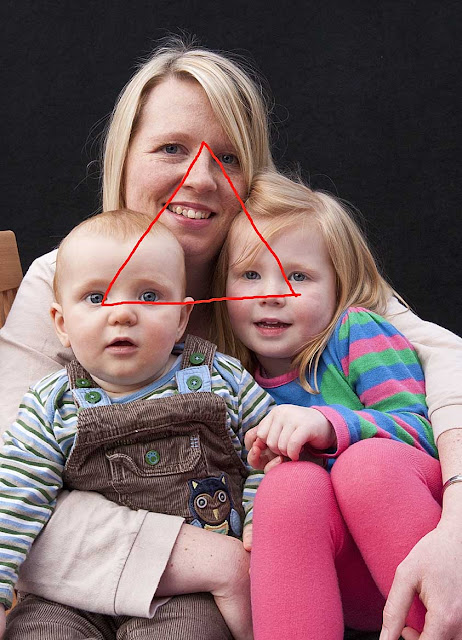
For the last image in this exercise, I photographed my grandchildren, Izzy and Jacob with their mum. The set up is a natural one, all I had to do, was to get them to sit against a black background therefore keeping it simple. There are several triangles within this picture, so as with previous photographs I have included diagrams.
Before starting part two of this course I was aware of how important composition was to a photograph, but not to what degree. Shapes, I now know are a vital ingredient in any picture, I'm sure they will become the norm in my photographs from now on. When reading through Elements of design, I thought finding photographs of triangles, for example, the most difficult, in fact it turned out to be a lot easier than I had imagined. I now see triangles in lots of things, and along with implied lines, the pictures I am now taking seem to be full of them. Out of all the exercises I have done, curves gave me the most trouble, despite thinking that it would be one of the easier ones. Still life has again given me a challenge, I can see how it can be very satisfying when done correctly, also how the shape of it is so important to the final result.


No comments:
Post a Comment